It’s time to put up your holiday lights. Like most people, you’ll probably try to do it yourself. But installing Christmas lights on a roof can be tricky. This blog post will walk you through the process step-by-step and show you how to install your holiday lights without putting yourself or your property at risk.
What You’ll Need
Before anything else, you must ensure you have all the necessary materials. First and foremost, you will need ladders to reach your roof safely. Make sure that whichever equipment you use is sturdy, in good condition, and properly secured for safety. You should also get a bucket or other container to hold the lights and other supplies as you move around, as well as electrical tape, plastic shingle & gutter clips, extra extension cords, and of course, the Christmas lights themselves.
Check Your Lights on the Ground
Before you even start to install your lights, you should make sure they are in working order. To do this, plug them in and inspect each strand for any loose connections or other issues. If there is any damage, don’t try to use the lights – instead, replace them with a new set.
Prepping Your Roof
Once you’ve ensured your lights are in working order, you should take the time to inspect your roof for damage. If there are any missing shingles or cracks in the structure, then it’s important to fix these before you start putting up lights. You should also ensure that your gutters and eaves are in good condition to protect against water leakage, which can cause further damage if left unchecked.
Installing the Lights
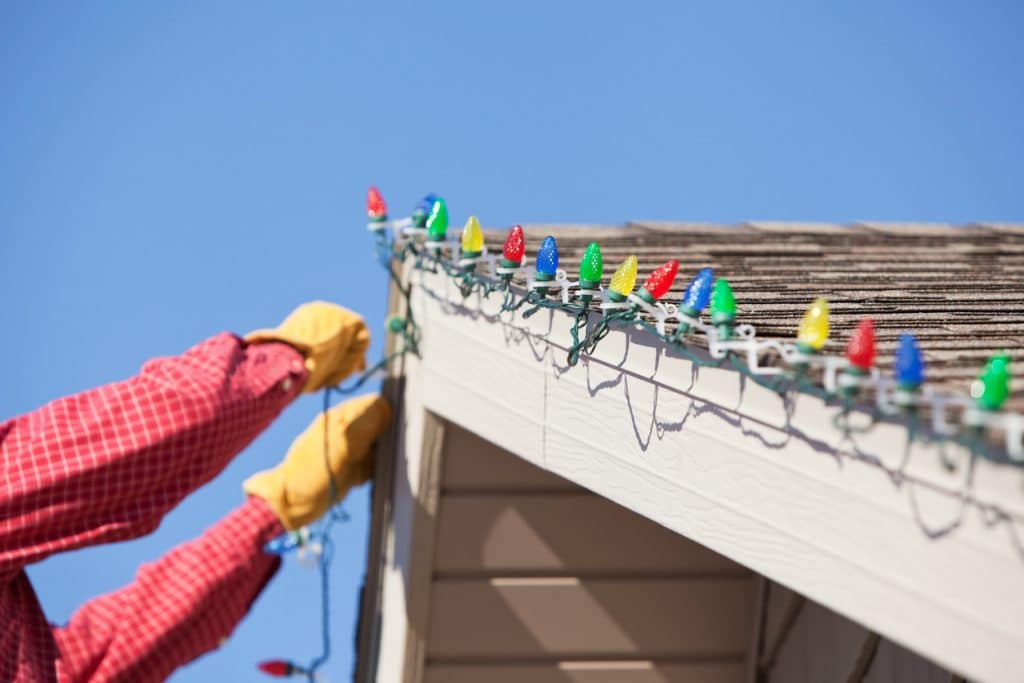
Now you’re ready to start installing the lights! Begin by attaching the “tail” end of the string of lights to the gutter or eaves with a plastic clip. Then, carefully climb the ladder and head up to the roof. We recommend asking a friend or family member to hold the ladder steady while you’re ascending.
Secure the light strand along your roofline using clips or electrical tape starting at one corner. As you go, use extra extension cords if needed to run power from an outlet to the lights. When you’re finished, plug in the lights and check for any problems.
Finally, step back and enjoy your handiwork once you’ve confirmed that everything is working correctly! With a bit of care and effort, you can have beautiful holiday lights safely installed on your roof in no time.
Recap & Extra Considerations
Additional tips for a safe and happy holiday season:
- Make sure to use heavy-duty extension cords that can handle the wattage of your lights.
- Always use ladders that are in good condition and properly secured.
- Have someone hold the ladder steady while you’re ascending or descending.
- Inspect your roof for damage before installing lights.
- Fix any missing shingles or cracks in the structure before proceeding.
- Use clips or electrical tape to secure the lights along your roofline.
- Check for any problems with the lights once they’re plugged in.
These steps will help ensure your holiday lights remain safe and secure throughout the season.
Did you notice any damage while you were up there?
If you spot any areas of concern on your roof while installing your Christmas lights, consider reaching out to the professionals at Signature Exteriors. We offer comprehensive roof repair services year-round and can help you determine the best course of action to get your roof in peak condition. Rest assured that our experienced team is here to take care of all your needs, so contact us today and let’s get started!
Happy Holidays from the Signature Exteriors Team!